

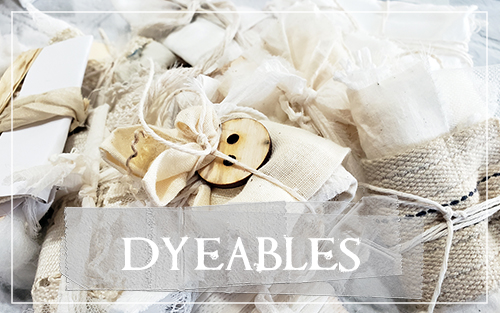
Mad Madder LAB – Dyeables & What to do with them
In the following videos we’ll talk about what can be dyed & how to make the dyeing process as painless as possible.
The break down:
The more natural the fibers the better. Items found in nature will yield the best results… MOSTLY. That doesn’t mean don’t branch out & try synthetic materials, because we have in fact found quite a few of them to be very fun, like the synthetic feathers! When it comes to paper, keep your heavy duty thicker stocks in mind, nothing thin like book pages or copy paper.
Supply List:
Here is a list of all the things mentioned in the dyeables video. Links available in master list found on the intro page.
Fibers
Fabrics
Paper types
Other
- Cotton
- yarns (twisted, non, smooth, bulky+)
- baker’s twine (great for tying)
- rope
- cord
- Wool (alpaca, sheep, llama +)
- yarns yarns yarns!
- roving
- bats
- loose wool fibers
- Silk
- ribbons like sari (smooth & gauzy)
- recycled bits
- Jute
- Hemp
- Bamboo
- Cotton
- old sheets
- muslin
- canvas
- duck cloth
- vintage quilt pieces
- tea towels
- old tshirts +
- Wool (alpaca, sheep, llama+)
- felt sheets
- old blankets
- Silk
- scraps
- fabric bits
- Linen
- curtains
- table runners
- hankies
- tablecloths
- watercolor paper
- cotton rag paper
- tags
- cardstock
- manilla
- printed & non
- cheese cloth
- gauze
- netting
- vintage laces & doilies
- muslin bags
- feathers
- silk cocoons
- wooden bits
- Buttons from UmWowStudio
- color catchers
The break down:
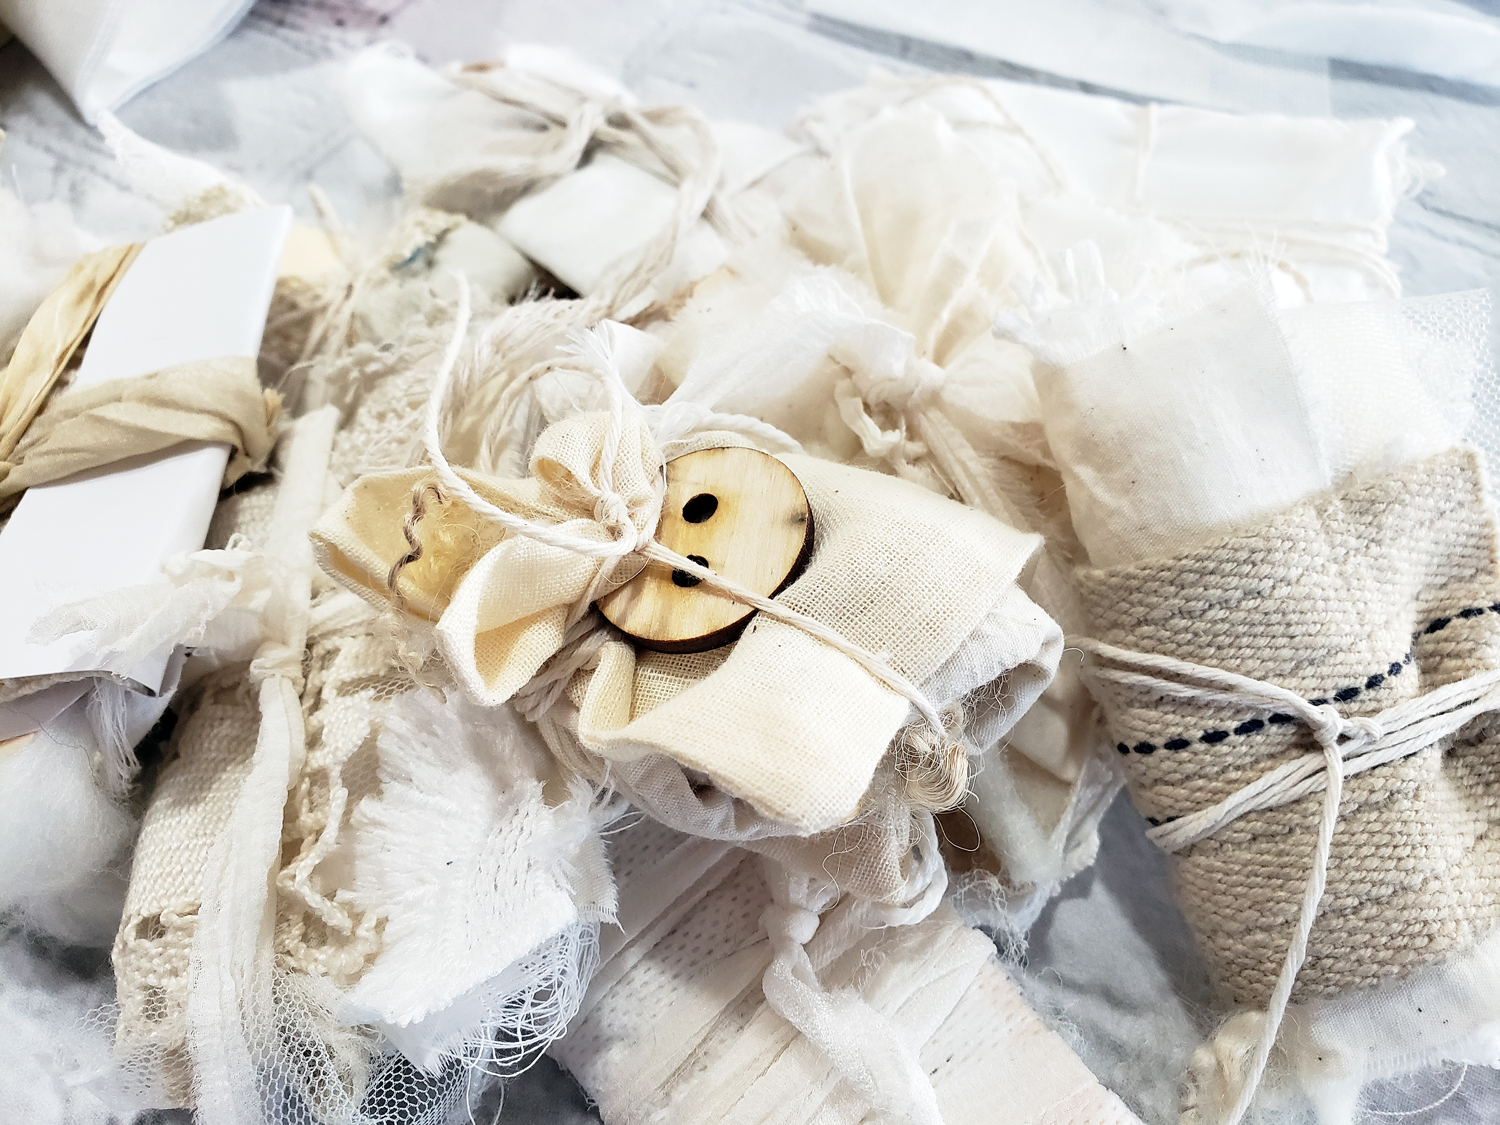
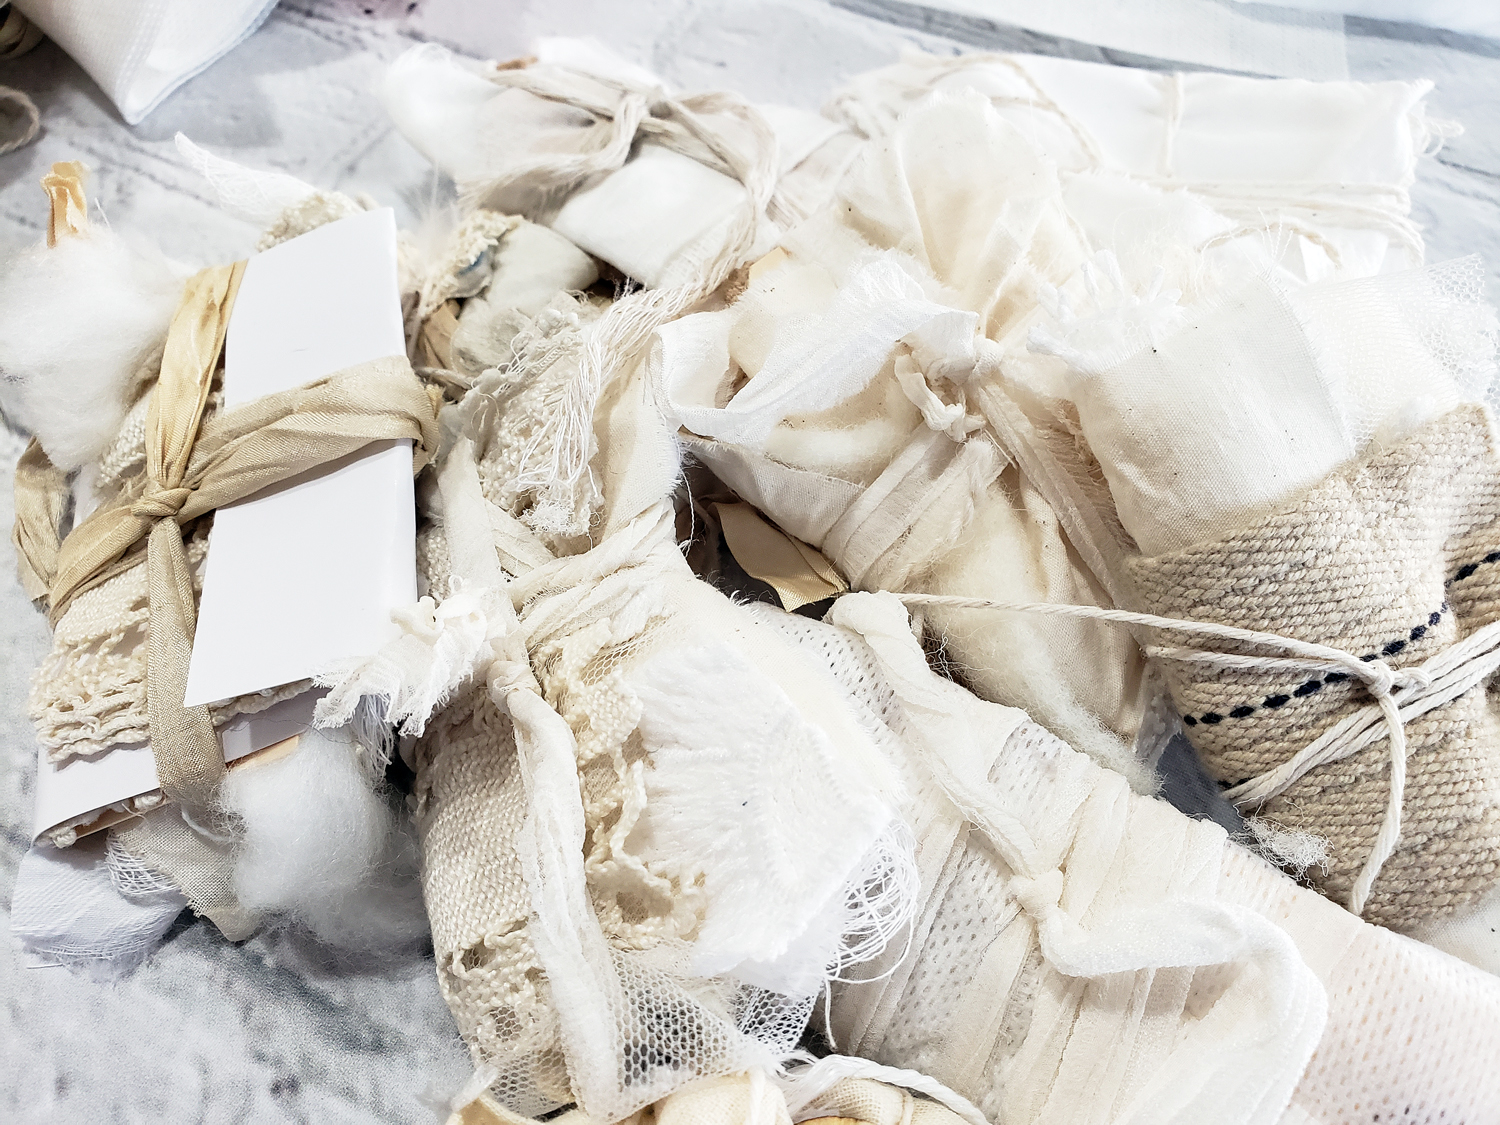
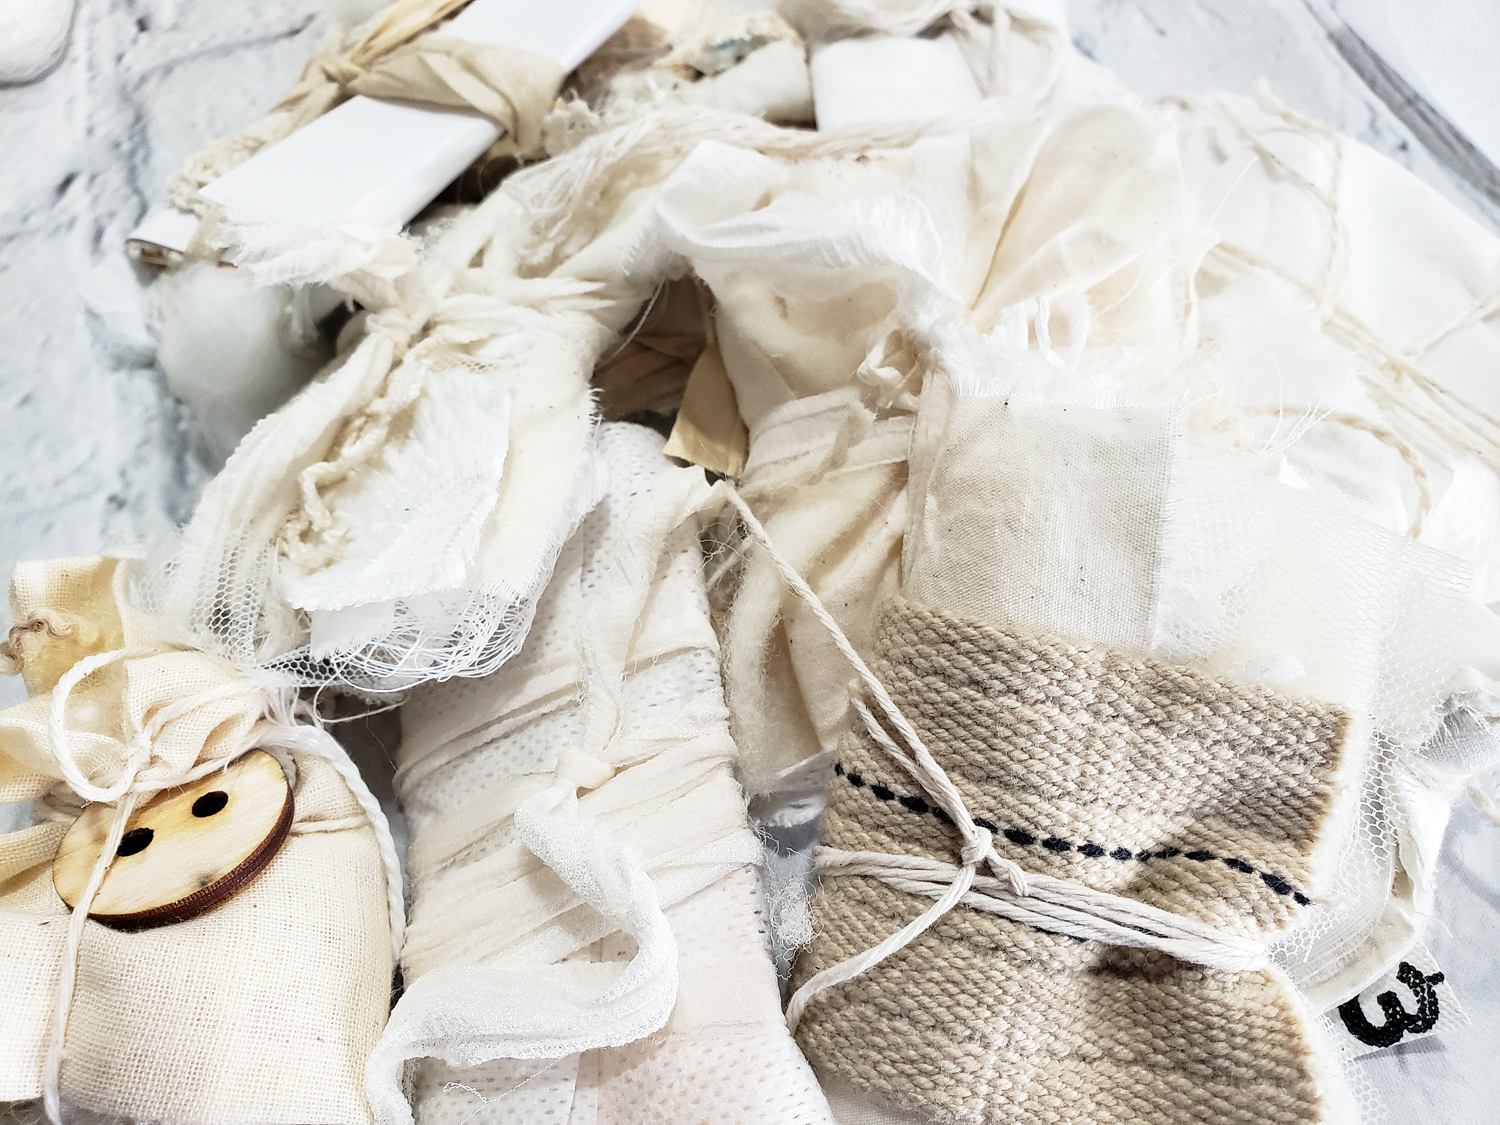
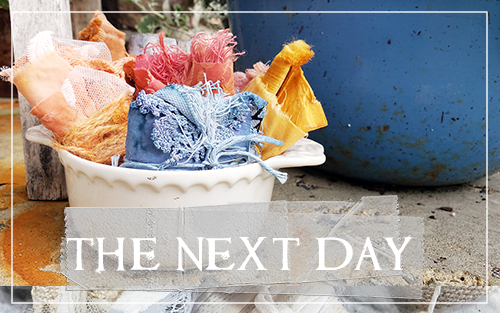
Creating bundles of tied up goodies helps keep the dyeing process as clean as possible. No need to fish floaty bits out of your dyepots this way. It also creates some amazing effects when different types of supplies are layered up next to each other, soaking in the bath & transferring the dyes back & forth.
Make sure your bundles are tight, but not too tight. There should be something on the outside sort of encompassing the whole bundle. Finish with a favorite ribbon or baker’s twine so you have another supply to use when all said & done, it will dye, too! 2×3 inches is a perfect size to aim for, some a little smaller, some a little bigger. Think business card size. As soon as you’re comfortable with the process, experiment with the end size! Tuck smaller heavier pieces on the inside & good luck♥
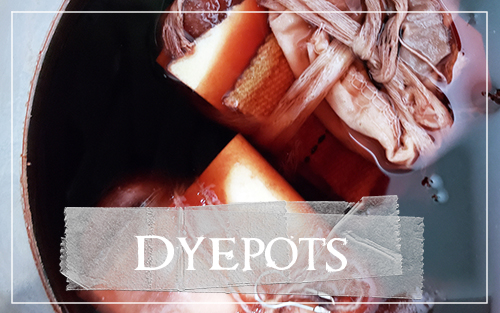
Soak your bundles in a bath of warm water & alum (or other mordant of choice) to help the cells open up & be ready to accept your dye baths. Soaking in the water for at least an hour is ideal.
Ratio :
2 tbsp of alum to 1 gallon of water.
Navigation:
Extra
Content
>>>


