

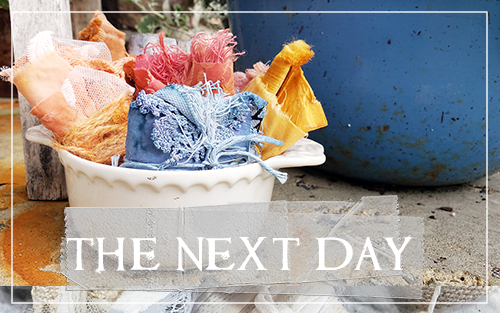
Mad Madder LAB – Creating Resists +more
This is so exciting! We brainstormed up some incredible resist ideas & then got busy implementing & experimenting with them. These are the steps & results! Don’t forget that by using BUNDLES in the previous lessons, it created some natural bound style resists. This is an expansion on that idea. The following video is a quick demonstration on ways to apply resist mediums. Watch it & then check out some results… PLUS go WILD! experiment with your own ideas, applications & more. Don’t forget your mixed media background & pull from that, too!
The break down:
Experimentation is BEST. Take into consideration things like the warmth of the bath, the soak process & what materials you want to resist the dye. Also, try dying individual pieces as opposed to bundles.
Non application resist :
-Bundling & tying create an easy natural resist by making the fibers tighter & less open to dye acceptance.
Application resist:
-Using various mediums and applications, resists can be created on any of the dyeables already mentioned IE fibers, papers, fabrics+
-Consider using sprayers, makeup sponges, brushes, mark makers, scrapers, stencils & stamps to apply mediums & create patterns & various effects.


Supply List:
This is a list of all the mediums used to resist. Links where available
- Wax resist crayon
- China marker
- Gel medium GLOSS
- Gel medium MATTE
- Gesso CLEAR
- Gesso WHITE
- Spray fixative
- Silicone spray
- Dorland’s wax
- Masking tape
- Cotton tie (tie-dye)
- Masking fluid
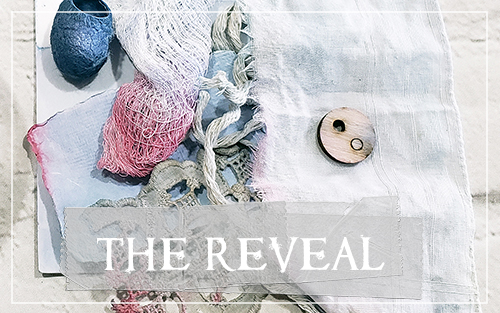
Results:
Here are the final bits created with info & notes
Wax Resist Crayon >>>
Pros: Easy to use, really affordable, can use clear crayons from Easter, even! Results are subtle but nice.
Cons: Results do vary, it’s hard to see where it’s been applied.


China Marker >>>
Pros: easy to use, always comes out well, draw, write, scrible, mark!
Cons: not a lot… maybe that it comes in limited colors.


Gel Medium (gloss & matte) >>>
Pros: Another winner! Both work really well. Matte can pick up some of the dye & gloss is resists like a PRO.
Cons: maybe dry time, definitely prep way ahead. You want it dry before you start to soak.


Gesso (clear & white) >>>
Pros: Also a winner! A little similar to gel medium in that both react a little differently but well.
Cons: Again, similar to gel medium — work ahead of time so it’s dry before soaking.


Spray Fixative >>>
Pros: it stays where you put it, it’s easy to use & it comes in a can making it easy to use with stencils.
Cons: it’s super subtle, soaking up a lot of the dye.

Silicone Spray >>>
Pros: um… none
Cons: I was really excited about the silicone spray but it doesn’t seem to have worked AT ALL.

Dorland’s Wax >>>
Pros: easy to apply, works on fabric & paper, INCREDIBLE but unexpected result.
Cons: unexpected results… lol. the wax warms in the bath and doesn’t create a resist as much as sort of seals extra dye INSIDE the wax.

Masking Tape >>>
Pros: the tape itself dyes! The few times it works it can create really interesting gradients.
Cons: between the soak & the warm bath, the adhesive proves difficult to work with… either heating up & becoming super sticky & hard to remove, or losing adhesion & falling off.

Tie Dye Style >>>
Pros: always works! also dyes the cotton tie it’s bound with. can create amazing patterns with different folds & ties.
Cons: takes a bit of prep work, plus untying later can be tedious.

Masking Fluid >>>
Pros: works like a CHARM. Can be splattered, written, drawn, etc. Always makes a great resist.
Cons: It has to be removed at the end, can be really tough. Soaks through fabric making it permanent.

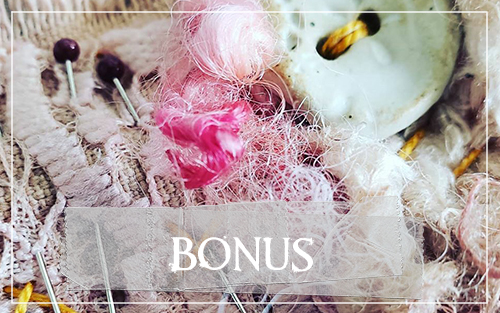
Honorable Mentions – Double Dips & Creating Variation:
Along the same lines as creating resists are other ideas that we are super fond of.
Don’t fully submerge your pieces in the dye bath >>>
It creates a WHOLE lot interest & opens up a ton of other dye opportunities.
Double Dip >>>
by dyeing half of a bundle or individual piece, you can flip it over & dye again on the undyed portion in a different bath.
OR, if you’re feeling ballsy, butt two dye baths up next to each other and drape your piece half & half over the two.


Press Together >>>
a truly magical happistance is where this feather laid against the photo in a dyebath. The bath couldn’t permeate between & created the most beautiful curly resist. It happens when tags lay together, laces lay against paper & more.

Bath Placement >>>
Another great tip or technique is to rest pieces against the side of the bowl & allow pieces to float on the surface of the bath. The gritt of the dyebath will rest against the dyestuff & create amazing texture.

Soak & Fold >>>
Soak your pieces individually rather than in a bundle. Carefully remove from the bath & fold into bundles (as opposed to bundling beforehand). Be gentle so you don’t tear your papers. Submerge these in dyebaths to create create unique dye lines & voids.


Navigation:
Extra
Content
>>>


